SMA DataManagerM – Smart-Meter Integration, Zero-Feed-In Control, Feed-In-Limitation
Relevant Products:
SMA DataManager M (EDMM-US-10); SMA DataManager M Lite (EDMM-10.A);
SMA SunnyBoy; SMA Tripower Core1; SMA HighPower Peak3
AccuEnergy Acuvim II-D-333-P1; Acuvim II-D-RCT-P1; WEB2 via Modbus TCP
Overview:
This Frankensolar Tech Tip shows how the Accu Energy AcuVimII smartmeter can be connected to SMA’s Datamanager M or Datamanager M Lite. Some installations require the inverter to limit grid export to zero or to set a maximum grid feed-in power.
Connection:
SMA’s DatamanagerM (short DataM) is connected to the local Ethernet network
AccuEnergy’s AcuVimII has the WEB2 communication interface installed and is connected either wirelessly (Wifi) or via Ethernet to the same local network as the DataM.
In this tutorial the following (fixed) IP addresses are manually assigned:
SMA DataM: 172.16.1.5
AcuVimII: 172.16.1.6
Neither the SMA DataM nor the AcuVimII meter should use dynamically assigned IPs!
Configuration of the Smart Meter:
Install the AcuVim II with WEB2 communication module as described in the meter’s installation manual. On the communication module, the only the network configuration needs to be changed to a fix IP within the network. No other configuration needs to be done in order to get the Modbus TCP communication enabled (enabled by default).
Attention:
It is recommended to use either Wifi OR Ethernet but not both interfaces at the same time to the same subnet.
Configuration of the DataM:
Go to Settings, Add device and add a Modbus Meter. After assigning a name to your meter e.g. ‘Main-Meter’ the communication settings can be adjusted.
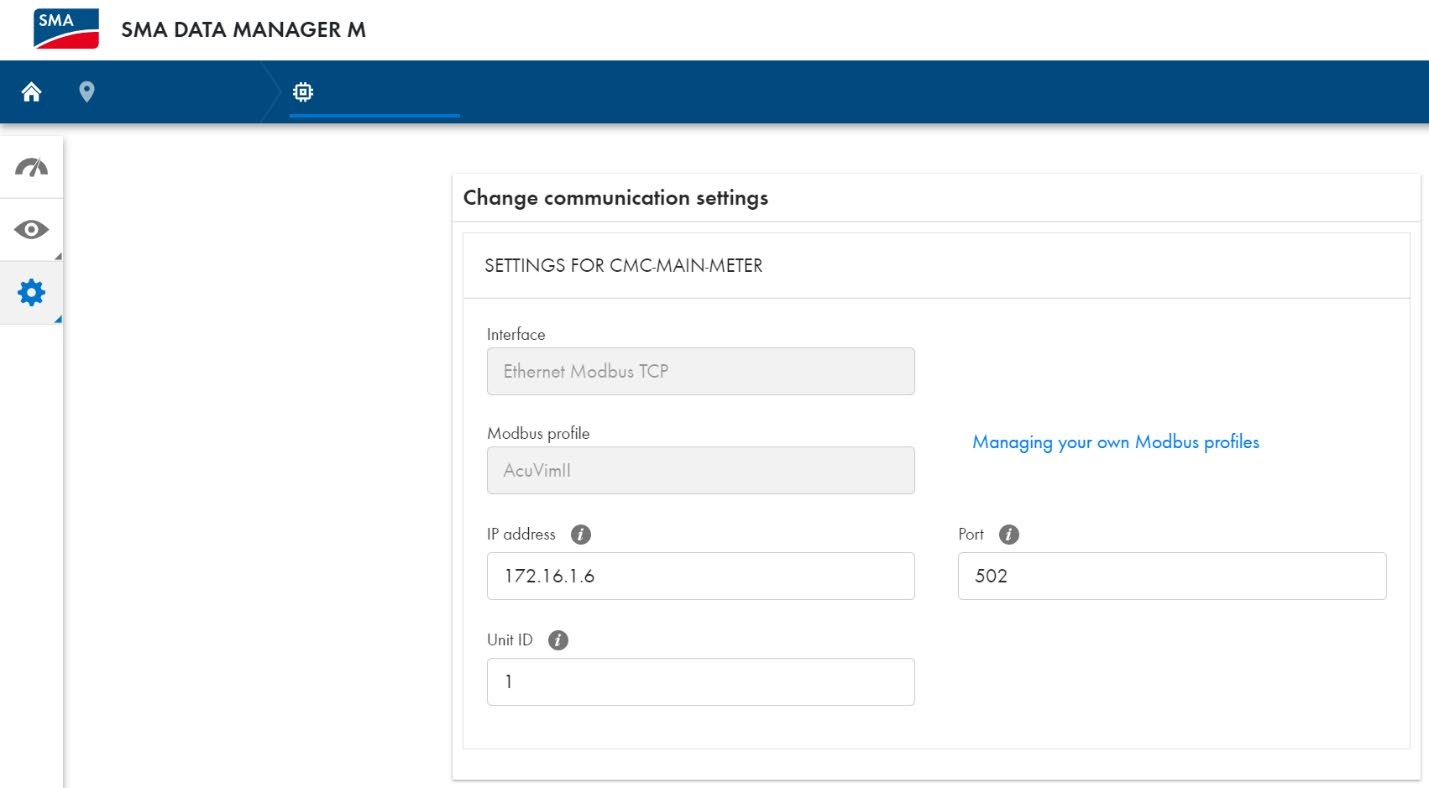
Modbus over TCP is used over the Ethernet network connection. A Modbus profile must be created that assigns the corresponding registers to the data registers the DataM is using. As the datasource, the IP address of the AcuVimII smartmeter must be selected. The Modbus standard com port is 502. Unit ID 1 as shown in the screenshot.
For the meter specific Modbus profiles there are two options:
a.) The manufacturer of the smartmeter typically provides a list of all available registers and the type of data format that is being delivered to a request.
b.) For the AccuEnergy AcuVimII that is used in this case, Frankensolar can provide a setup file that has all registers and settings already preprogrammed for a hassle-free commissioning. Please contact your Frankensolar sales person for assistance.

Configuration of the Feed-In Limitation:
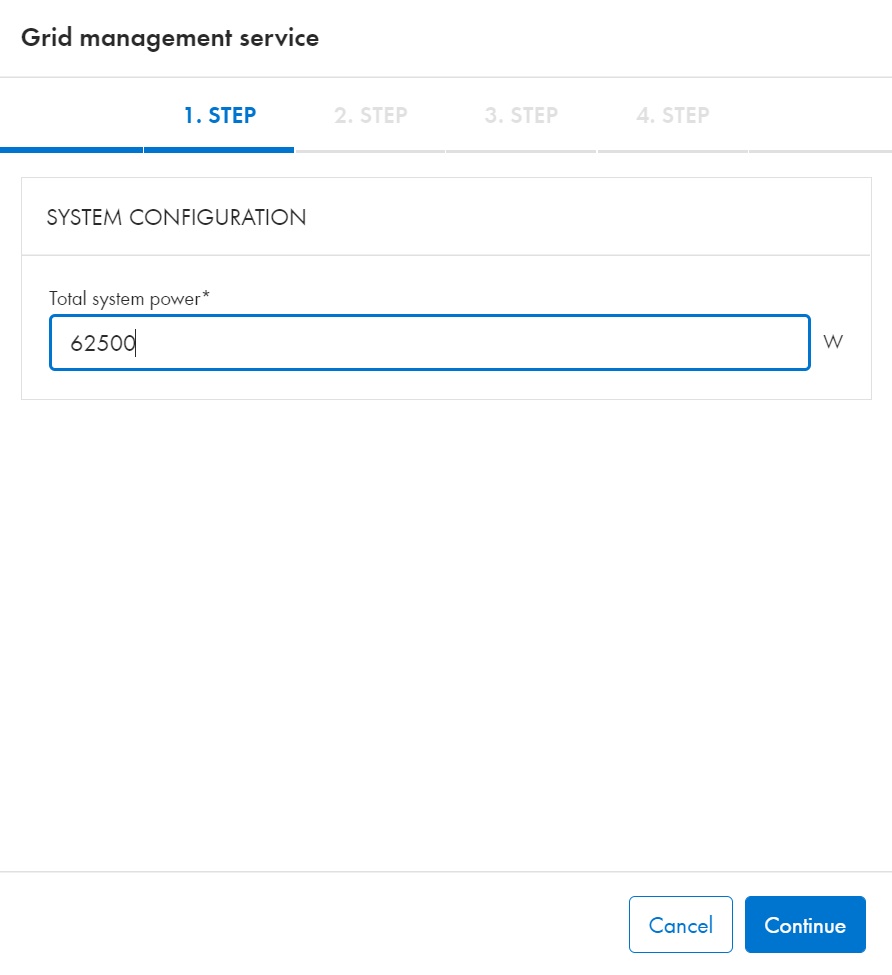
Go to Settings, Grid management service, Active Power Control and go through the 4 steps:
1.Step: Set the total AC power of the PV system. E.g. 62500 Wac
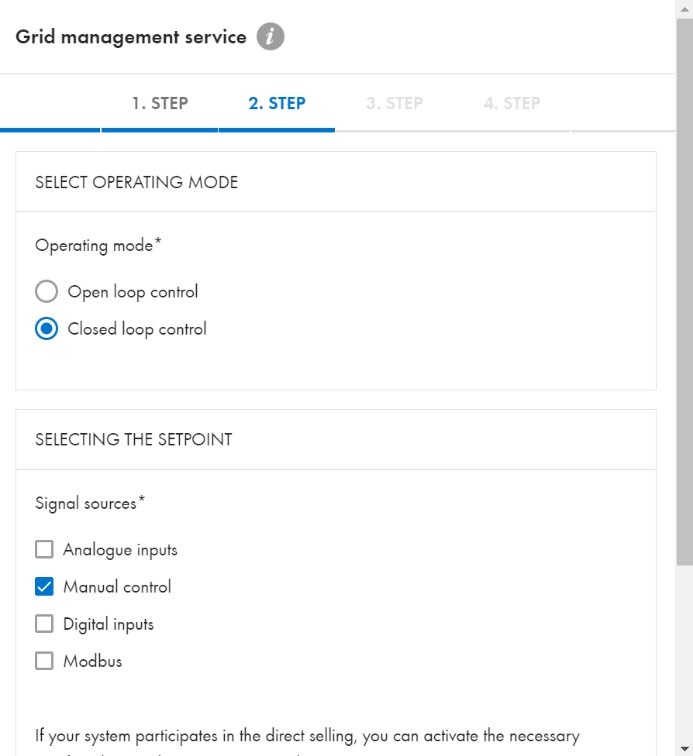
2.Step: Set operation mode to ‘Closed loop control’, Signal Source is ‘Manual Control’
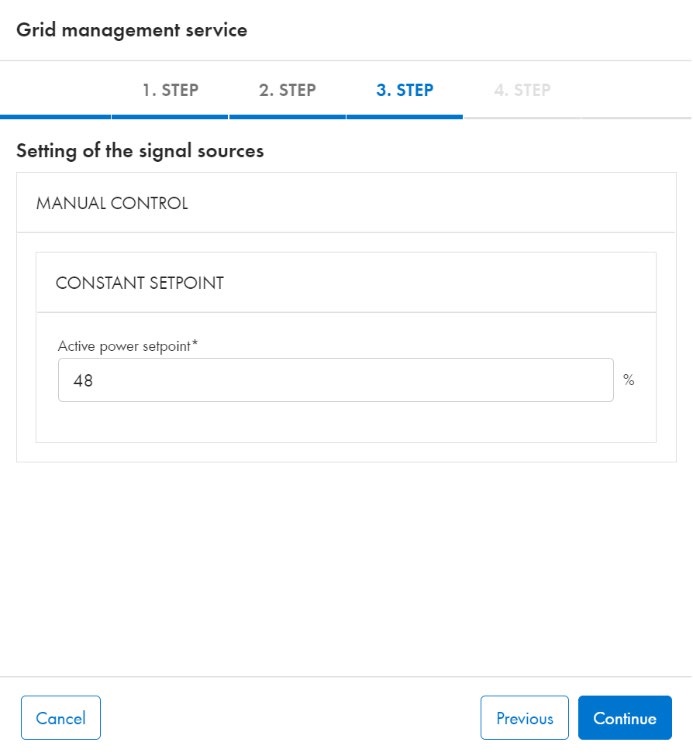
3. Step: Set the constant setpoint to 0% if Zero-Feed-In is desired, no power to the grid
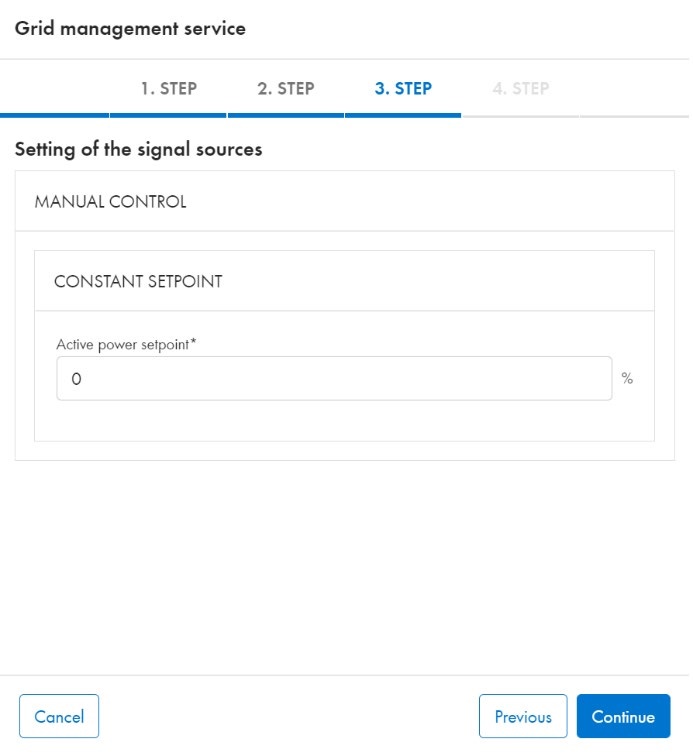
4. Step: Set the constant setpoint to xx% of the AC power of the system for a feed-in limitation. e.g. 30kWac max feed-in (48% of 62.5kWac = 30kWac)
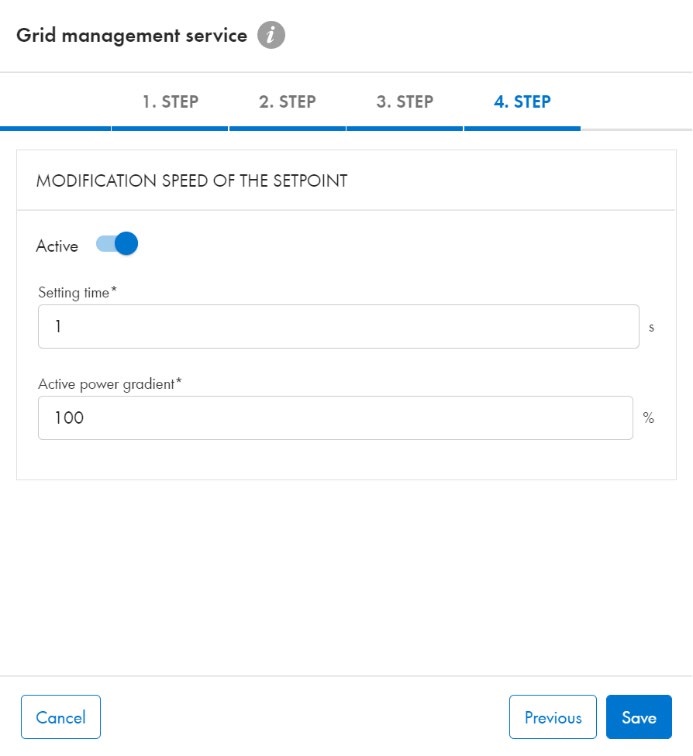
5. Step: Activate the Control and set the time constant to 1 second and 100% active power gradient.
6. Step: press save and go back to main dashboard. You will be seeing a new graph with the current status of the limitation.
Alex’s Pro Tip:
In many cases, testing of the closed loop control loop can be difficult. Often the solar production at the time of commissioning is too low or the facility’s load is too high to trigger the limitation.
For temporary testing, you can also set a negative active power setpoint! (e.g., -48%). In this test system at the time of commissioning, the facilities load was constantly above 40kWac. This made it impossible to test the 30kW feed-in limit due to the PV power only being around 20-25kW max.
By selecting a negative power setpoint, a minimum consumption target can be achieved. This means that a min 30kW remaining load to the grid shall be maintained, load levels above this threshold the solar PV system can offset. By intelligently selecting the new setpoint the proper function of the closed loop control can be demonstrated.
Example:
| Current load: | 42kWac |
| Selected setpoint: | -48% (equivalent to 30kWac min load to the grid) |
| Current solar potential: | Mediocre sunlight, ~20-25kW available |
Result:
| Current load: | 42kWac |
| Solar PV AC power: | Curtailed to 12kWac (of theoretical 25-30kW available) |
| Remaining load to grid: | 30kWac (regulated) |